- Getting Started in IFC DATA
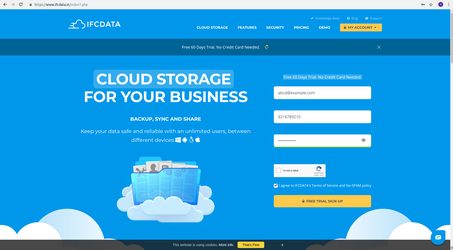
a. On the browser (Google Chrome or Mozilla Firefox), the url https://www.ifcdata.in/ is searched first.
b. In the main page, there will be signup options for providing the email, mobile number and password.
c. The mail address is typed in the email text, a valid mobile number is provided in the mobile number text and a password should contain 8 characters length and contain at least one special character, one lowercase letter and one uppercase letter, and a number.
d. Check the "I agree" checkbox and click on free trial sign up.

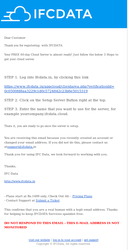
2. Verification link in email
a. A verification link from "ifcdata.in" will be provided to the email provided in earlier step.
b. By clicking it, it will navigate to the server setup page.

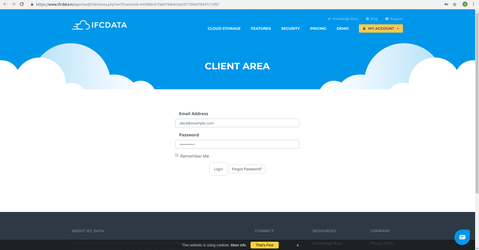
3. The link will navigate to the "Client area" page.
a. In this page, the email and the password are provided based on the earlier step.
b. Login is clicked for proceeding to the further steps.
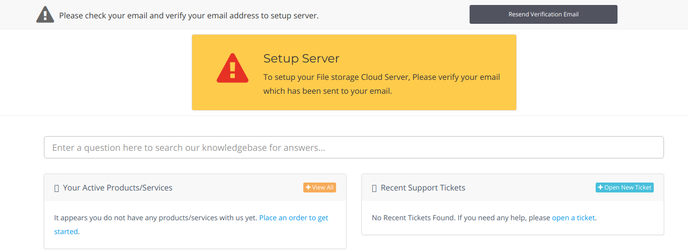
4. This will navigate to a page where it will display the Confirmation of the email address and setup server is clicked for proceeding forward.

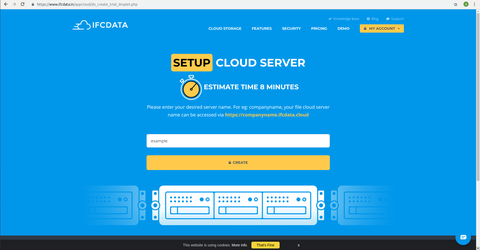
5. It will navigate to the page where the server name has to be provided .
a. For creating a server the server name should not contain capital letter, number or a special character.
b. The server will be created based on the server name followed by ".ifcdata.cloud".
Eg. Here, "example" is the server name and the server server will be created as "https://www.example.ifcdata.cloud".
c. On clicking create, the process for the server creation will take place
d. It will show the total estimated time within which the server will be created successfully.
6. It will redirect to processing page, and this page should not be closed or refreshed.
a. It will take around 2-3 minutes to create the server.

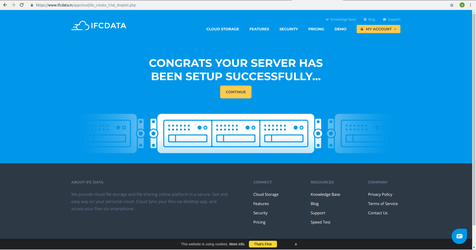
7. It will lead to the page where server is created successfully is displayed and continue.
8. Now the "thank you page" will display the server is ready
a. In this page, it will show the login details for verification purpose.
b. On successful verification, on clicking the login, it will redirect to the server page.
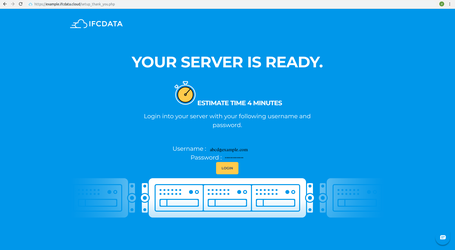
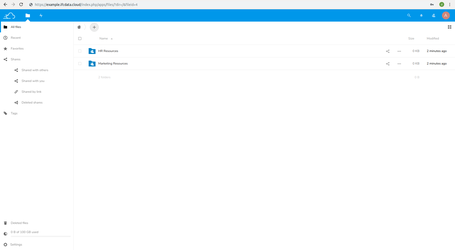
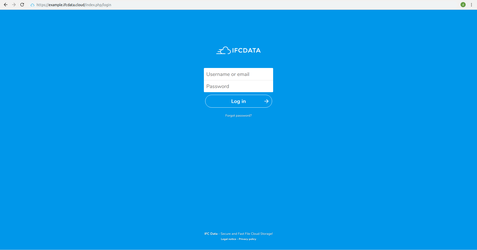
9. Now it will redirect to the server page.
a. The username or email and the password will be provided in this page
b. By clicking login, it will redirect to the server.
10. Now it lead to the page where the files can be stored for a backup can be viewed